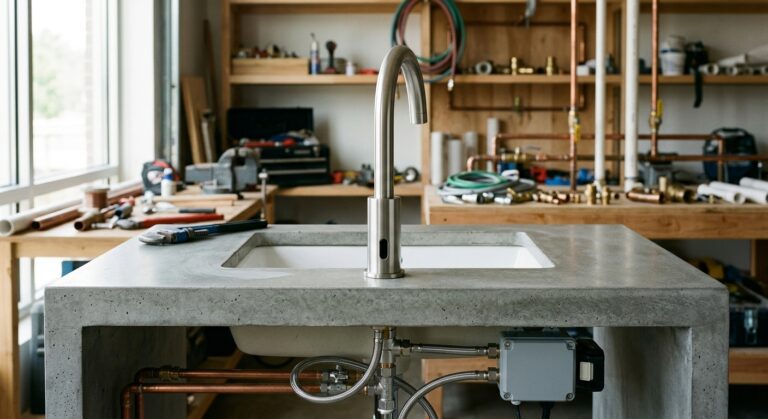
Rough in a wall-mounted faucet 20 to 28 inches above the finished vanity deck, measured to the centerline of the valve body. The exact number depends on your sink depth and the spout length you plan to install, so you need both specs in hand before anyone drills a stud. Get this wrong and you end up with water hitting the back of the basin or a spout that clears the counter by three inches and looks wrong forever.
Why Wall-Mount Skips Deck Hole Rules
Deck-mounted faucets live and die by hole spacing: 4 inch, 8 inch widespread, single hole. None of that applies here. A wall-mount faucet has no relationship to the sink’s hole configuration because it never touches the sink. The valve body sits inside the wall, the spout projects out from the wall, and the basin just needs to be positioned correctly underneath. This is why wall-mount is really a framing and plumbing problem, not a fixture-shopping problem. You’re solving for height, reach, and blocking long before you pick a faucet finish.
What This Changes About Your Planning Order
With deck-mount, you buy the faucet, then install it to match the sink’s holes. With wall-mount, you need the sink picked out and its depth measured before you rough in anything, because the rough-in height is downstream of the sink, not the other way around.
Rough-In Height Above the Vanity
The 20 to 28 inch range above the deck isn’t arbitrary. It’s the band that lets most spout lengths clear the basin rim without creating a splash problem or a stretch problem. Where you land inside that range depends on two things: how deep the sink basin is, and how far forward or back the faucet spout throws water.
- Shallow basin (around 5 inches deep): rough in toward the lower end, closer to 20 to 22 inches, so the spout isn’t aiming water from too high and splashing.
- Standard basin (6 to 7 inches deep): 22 to 25 inches is typical.
- Deep vessel-style basin (8 inches or more): you can go higher, 25 to 28 inches, since the extra basin depth absorbs the drop.
Manufacturer spec sheets for the specific faucet you’re installing will give you a recommended rough-in height. Treat the 20 to 28 inch range as the planning window, not a substitute for checking the actual spec sheet, because spout drop angle varies by design.
Valve Spacing: 4-Inch vs 8-Inch Centers
Wall-mount faucets still have a hole configuration, it’s just inside the wall instead of on the deck. Two valves (hot and cold) need to be set at a fixed center-to-center distance, and that distance has to match the faucet trim you’re installing. The two common spacings are 4 inch centers and 8 inch centers, mirroring the same spacing logic you’d see on a widespread deck faucet.
| Spacing | Typical Use | Rough-In Note |
|---|---|---|
| 4 inch centers | Compact wall-mount sets, narrower escutcheons | Less room for error in stud placement, tighter blocking zone |
| 8 inch centers | Widespread-style wall-mount sets | Needs wider blocking, often straddles two stud bays |
Mixing this up mid-project is expensive. If you rough in valves at 8 inch centers and then the faucet trim you actually buy is a 4 inch center design, you’re cutting into finished tile to move pipe. Confirm the valve spacing against the exact faucet trim, not a general category, before the plumber sets anything.
Blocking and Plaster Guards During Framing
The valve body needs solid backing, not just drywall or backer board, because the spout and handles bear weight and torque every time someone uses the faucet. Install horizontal blocking (a flat piece of lumber, typically 2×6 or 2×8) between studs at the exact height where the valve centerline will land. This has to happen during framing, before insulation and drywall go in, because you can’t easily add blocking after the wall is closed.
Once the valve is set and pressure-tested, a plaster guard goes over the valve body. This is a flat metal or plastic cover plate that protects the valve from drywall mud, tile mortar, and thinset during the finish phases. Without a plaster guard, debris gets packed into the valve threads and the escutcheon won’t seat flush later. It’s a small part, but skipping it means digging out dried mortar from valve threads with a pick, which is miserable and easy to avoid.
- Set blocking height to match your planned valve centerline exactly, not an approximate zone.
- Install the plaster guard immediately after rough-in and pressure test, before any wet trades start.
- Leave the plaster guard in place through tile setting and only remove it right before trim installation.
- Photograph the rough-in before closing the wall, you’ll want the reference if anything needs service later.
Matching Spout Reach to Sink Depth
Spout reach is the horizontal distance from the wall to where water lands, typically 5 to 9 inches on wall-mount basin faucets. This number has to line up with where the sink’s drain and basin center actually sit relative to the wall, or you’ll get water landing on the back lip of the sink, on the counter, or right at the drain with no margin.
Measure from the finished wall surface to the center of the sink basin. That distance needs to roughly match the spout reach on the faucet you’re planning to install. If your basin center sits 7 inches off the wall, a spout with 5 inch reach will aim water at the back third of the basin, not the center. A spout with 9 inch reach on a basin that’s only 6 inches deep front-to-back may overshoot toward the front edge. When you’re shopping bathroom sink faucets, the spec sheet will list reach as a specific dimension, and that’s the number to hold against your sink measurement, not a general description like “standard reach.”
Vessel vs Undermount Sink Clearance
Sink mounting style changes your reach math even when the basin footprint looks similar. A vessel sink sits on top of the counter, which adds 4 to 6 inches of height compared to an undermount basin set below the deck. That added height means the spout needs more drop, and the rough-in height calculation shifts upward to compensate, since the basin rim is effectively higher relative to the wall.
An undermount sink sets the basin rim closer to or flush with the counter surface, so the rough-in height sits lower in the 20 to 28 inch range and the spout reach doesn’t need to account for extra vertical rise. If you’re installing a vessel sink, confirm the faucet manufacturer’s rough-in guidance specifically accounts for vessel height. Not every wall-mount faucet is rated for the extra drop a vessel sink requires, and using one that isn’t can mean water landing short of the basin entirely.
Before you close the wall, confirm three things in writing: the sink depth and mounting style you’re committing to, the exact valve spacing and rough-in height from the faucet’s spec sheet, and that your blocking centerline matches the valve centerline you’re about to set. If you’re unsure how a vessel sink height interacts with a specific spout reach, call the faucet manufacturer’s technical line or a plumber experienced with wall-mount installs before framing is final. Fixing this after drywall and tile are in means cutting into finished surfaces, and that’s a repair nobody wants to budget for.