
Grip the shower head where it meets the arm, turn counterclockwise, and it should back off by hand or with one turn of a wrench wrapped in a cloth. If it won’t budge, the problem is almost never the threads themselves. It’s old tape, mineral buildup, or someone before you who overtightened it. Knowing the thread standard before you touch a wrench keeps you from turning a five-minute swap into a plumber visit.
Shower arm thread standard explained
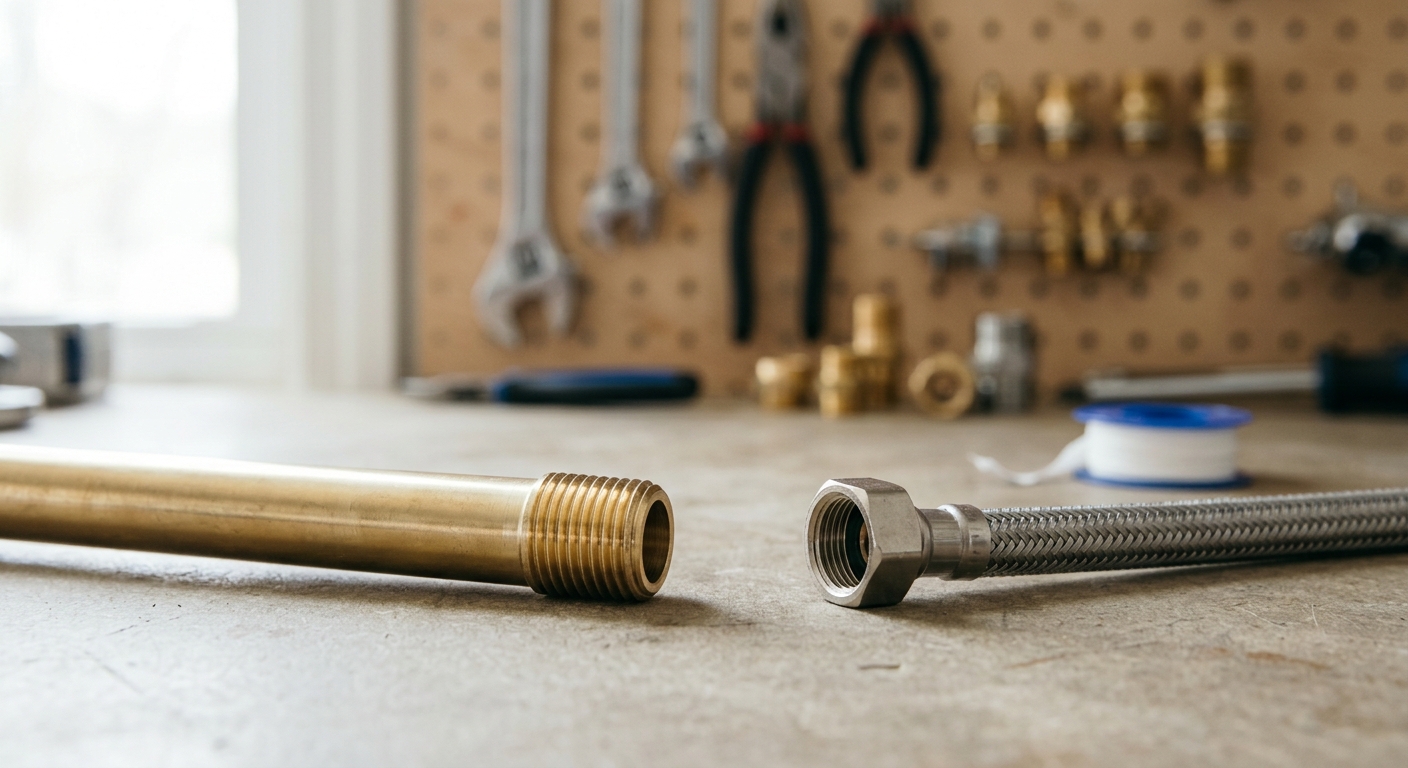
Shower arms use 1/2-inch NPT threads. NPT stands for National Pipe Thread, and the key detail is that it’s tapered, not straight. Each thread on the arm is very slightly wider than the one before it, so as you thread a fitting on, it gets tighter the deeper it goes. That taper is what creates the seal. You are not relying on a washer or an O-ring at that joint. You are relying on metal-to-metal (or metal-to-plastic) friction, backed up by thread sealant.
This matters because it explains two things homeowners get wrong. First, you don’t need to crank a tapered fitting down with full force. The taper does the sealing work as it seats; muscle just adds stress. Second, a shower arm fitting will always feel snug a turn or two before it’s fully seated, then suddenly stop. That stopping point is the seal forming, not a sign you need to keep forcing it.
Why basin faucet threads differ
Basin faucet supply lines are a different animal. Instead of pipe threads doing the sealing, bathroom sink faucets almost always connect through compression fittings, typically 3/8-inch. A compression fitting seals with a ferrule, a small brass or plastic ring that the nut squeezes against the tube and the fitting body. The threads on a compression nut are straight, not tapered, and their only job is to pull the nut down and compress that ferrule. They are not creating the seal by themselves the way NPT threads do.
This is the habit that trips people up. If you’ve only ever worked on shower arms, you might assume every leaking connection needs more tape or more torque. On a compression fitting, tape does nothing useful and overtightening just deforms the ferrule or cracks a plastic nut. The fix for a weeping compression joint is almost always to snug it a quarter turn past finger-tight, not to treat it like a tapered pipe thread.
Here’s a quick side-by-side so the distinction sticks:
| Feature | Shower arm (shower side) | Basin faucet supply (sink side) |
|---|---|---|
| Thread type | 1/2-inch NPT, tapered | 3/8-inch compression, straight |
| What creates the seal | Thread taper plus PTFE tape or pipe dope | Compression ferrule squeezed by the nut |
| Typical tightening method | Hand-tight plus partial wrench turn | Hand-tight plus quarter turn with a wrench |
| Common material | Metal or reinforced plastic | Brass nut, copper or braided supply line |
| Failure mode from overtightening | Hairline cracks, stripped threads | Crushed ferrule, split nut, persistent drip |
Tools safe for both fixture types
You don’t need a plumbing truck’s worth of tools for either job, but a few choices make the difference between a clean swap and a damaged fitting.
- Adjustable wrench or channel-lock pliers, padded with a cloth or tape — protects the finish on both shower arms and faucet supply nuts.
- Basin wrench — made for reaching the supply nuts up behind a sink where your hand and a regular wrench can’t fit.
- PTFE (Teflon) tape, standard white or the heavier pink/gas-rated tape — for tapered shower arm threads only.
- Nothing extra for compression fittings — no tape, no pipe dope, just the existing ferrule and a wrench for the final turn.
- Flashlight or phone light — for checking under-sink connections before you buy replacement parts.
If you’re also upgrading the shower itself rather than just swapping the head, it’s worth looking at how the valve, arm, and head are sold together. Some thermostatic shower systems come as a matched set with the arm, valve, and head engineered to the same thread and flow specs, which sidesteps the guesswork of mixing parts from different manufacturers.
Thread tape and sealant mistakes
The most common shower arm mistake is wrapping tape the wrong direction. Wrap PTFE tape clockwise, as viewed from the end you’re looking at while threading the fitting on, in 3 to 4 wraps, pulled snug. If you wrap it counterclockwise, the tape unwinds as you thread the fitting in instead of compressing into the threads, and you’ll get a leak no matter how tight you go.
The second mistake is applying tape logic to compression fittings. Tape has no sealing surface to bite into on a straight-threaded compression nut, and it can actually keep the ferrule from seating correctly against the tube. If a basin faucet supply line leaks at the nut, check that the ferrule is seated squarely and the tube is cut cleanly, then retighten. Don’t reach for the tape roll out of habit.
The third mistake, and the one that causes real damage, is over-torquing. Plastic shower arms are common in rental-grade and budget fixtures, and they crack under force that a brass arm would shrug off. You’re looking for a specific feel: hand-tight, then a half to full turn with a wrench. If it’s not sealing at that point, back it off, check the tape, and try again rather than adding more torque.
When cross-threading means calling a plumber
Cross-threading happens when the fitting starts going in crooked and you force it anyway. On a tapered NPT thread, this often means the arm now sits at an angle no amount of tape will fix, or the threads inside the wall stub are damaged rather than the arm itself. On a compression fitting, cross-threading usually shows up as a nut that spins without ever tightening, which means the threads are stripped.
Call a plumber when any of these show up:
- The shower arm spins freely in the wall stub itself, meaning the problem is inside the wall, not at the arm.
- You can see metal shavings or deformed threads after backing out a cross-threaded fitting.
- A basin faucet supply nut won’t tighten past finger-tight no matter how many times you reseat the ferrule.
- Water is leaking from inside the wall or cabinet, not just at the visible joint.
Any of these point to a fitting that needs cutting out and re-threading or re-soldering, work that goes past a wrench-and-tape fix.
Before you start either job, confirm which thread type you’re actually dealing with. Pull the old shower head off first and look at the arm: if the threads taper and get tighter as you go, that’s NPT, and tape is your friend. Under the sink, look for a nut and a visible ferrule on the tube: that’s compression, and tape stays in the drawer. Matching the method to the fitting is the whole job. Get that right and both swaps take fifteen minutes with hand tools.